For many years, I dutifully bought the challenge quilt kit my guild offered each fall with the very best intentions. With a deadline nine months away, the fabric usually fell off my radar, and I'd remember it a few days before the challenge quilt was due. Some fabrics were intriguing, and suggested a clear design. Other instructions were amusing....but a quilt never got finished. And sometimes, a quilt never even got started!
Then, it became a mission. I was going to complete a challenge. Except I forgot all about it. Again. So when my Modern Quilt Guild was notified about an inter-guild challenge, my ears pricked up.
The challenge was entitled "Modern In The City", and it had two rules only. One side had to be exactly 36 inches..........the other sides 36" or less. That was it. Not a lot to go on, yet, I had a very instantaneous and clear vision of my design. I even knew just how to execute it, and which fabrics I'd been


I mentioned the project to #2, who also had a very definite idea of what the project should look like. She explained that it should have one half devoted to one subject, and the other half to another. Then, overlying the two halves, should be two images, connected by a symbol. I'm being vague here on purpose....work with me. The eerie part was, she'd just described the exact design I had seen so clearly in my head.
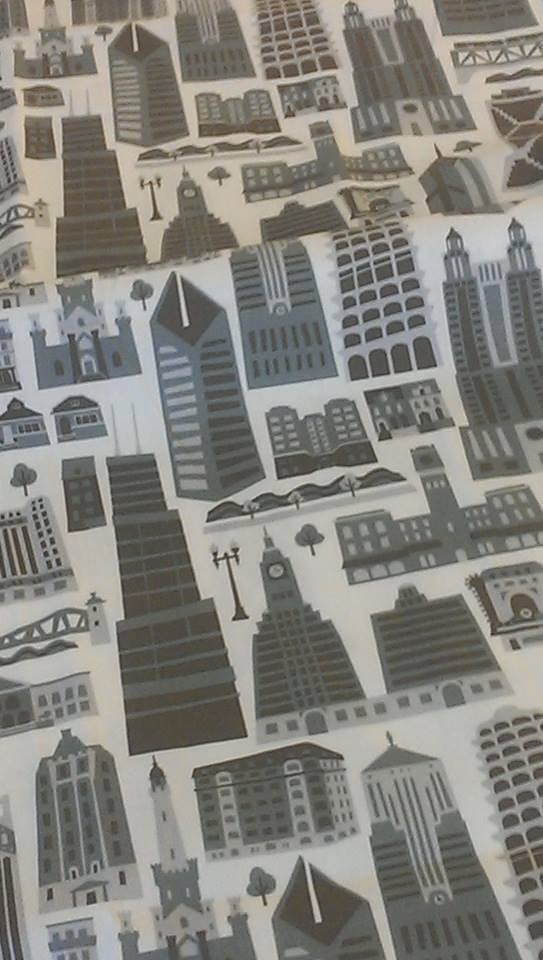
The challenge "Modern In The City" immediately begged the question: which city? After more than 25 years, I have come to love my adopted city of Chicago. But, I will always call New York City my home. Images of New York city [in the 70s & 80s] form the cornerstone of my growing up years. Chicago's proud landmarks and diverse neighborhoods define my adulthood. The design reflects how both cities have become an inextricable part of my personal history.
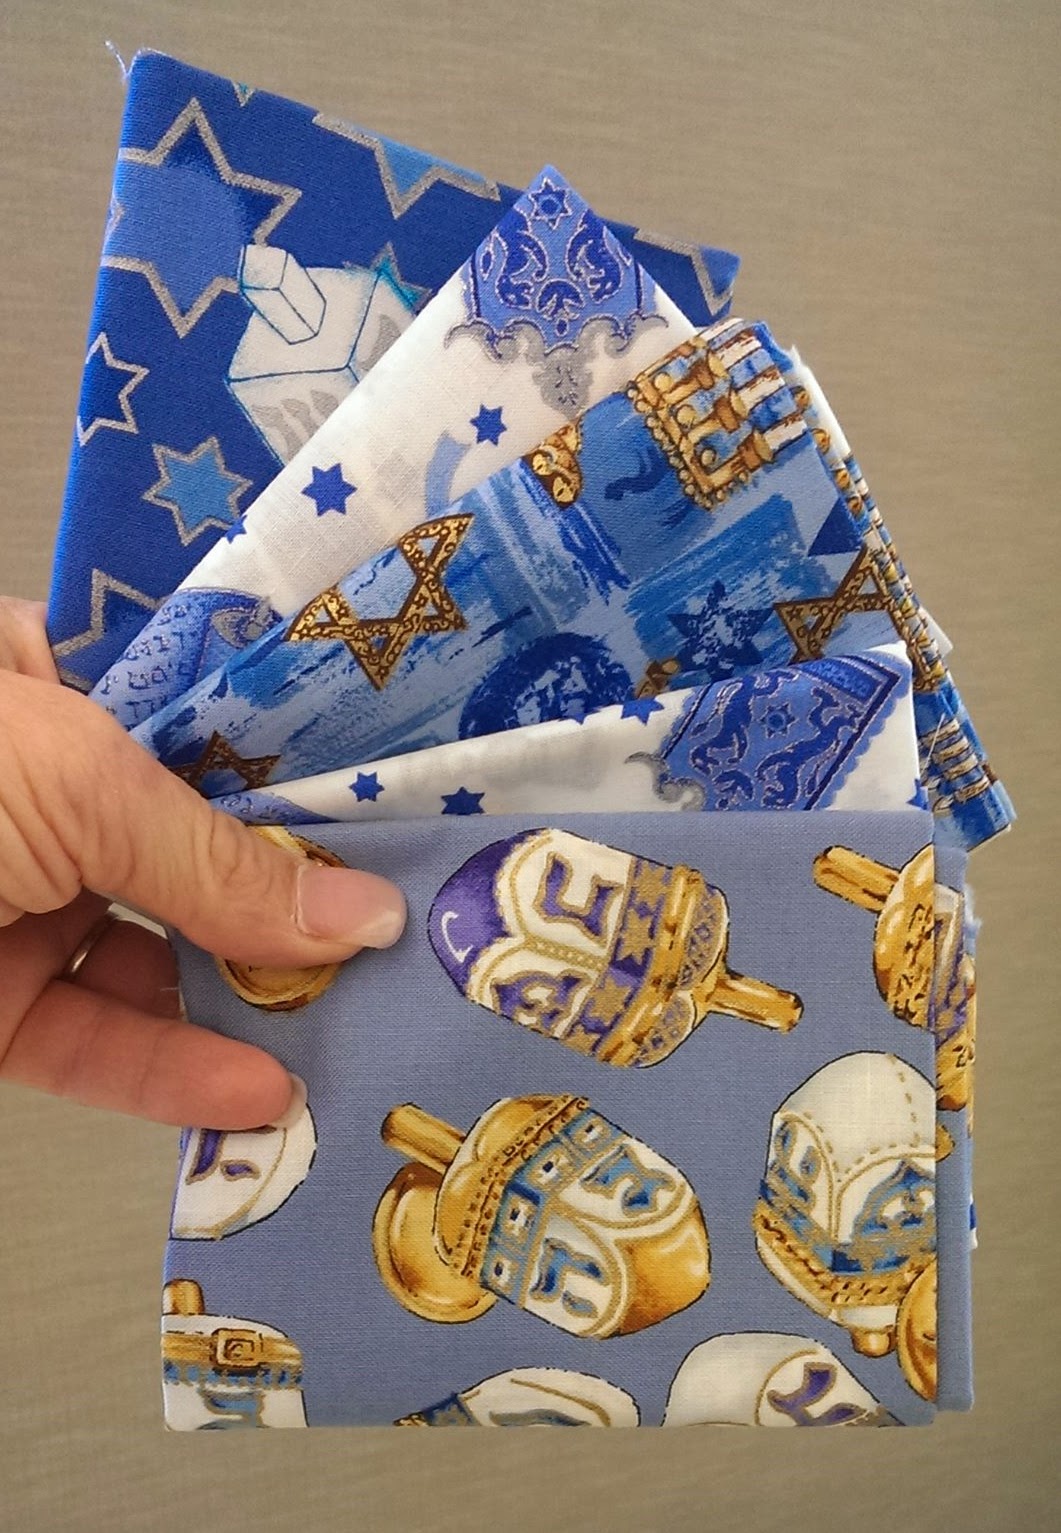
This challenge was a little different; it did not include any fabric at all. I was both totally free, yet constrained by keeping consistent with the image in my head. I headed to my stash. I was well stocked for part B.....but fabrics for part A? Not so much.
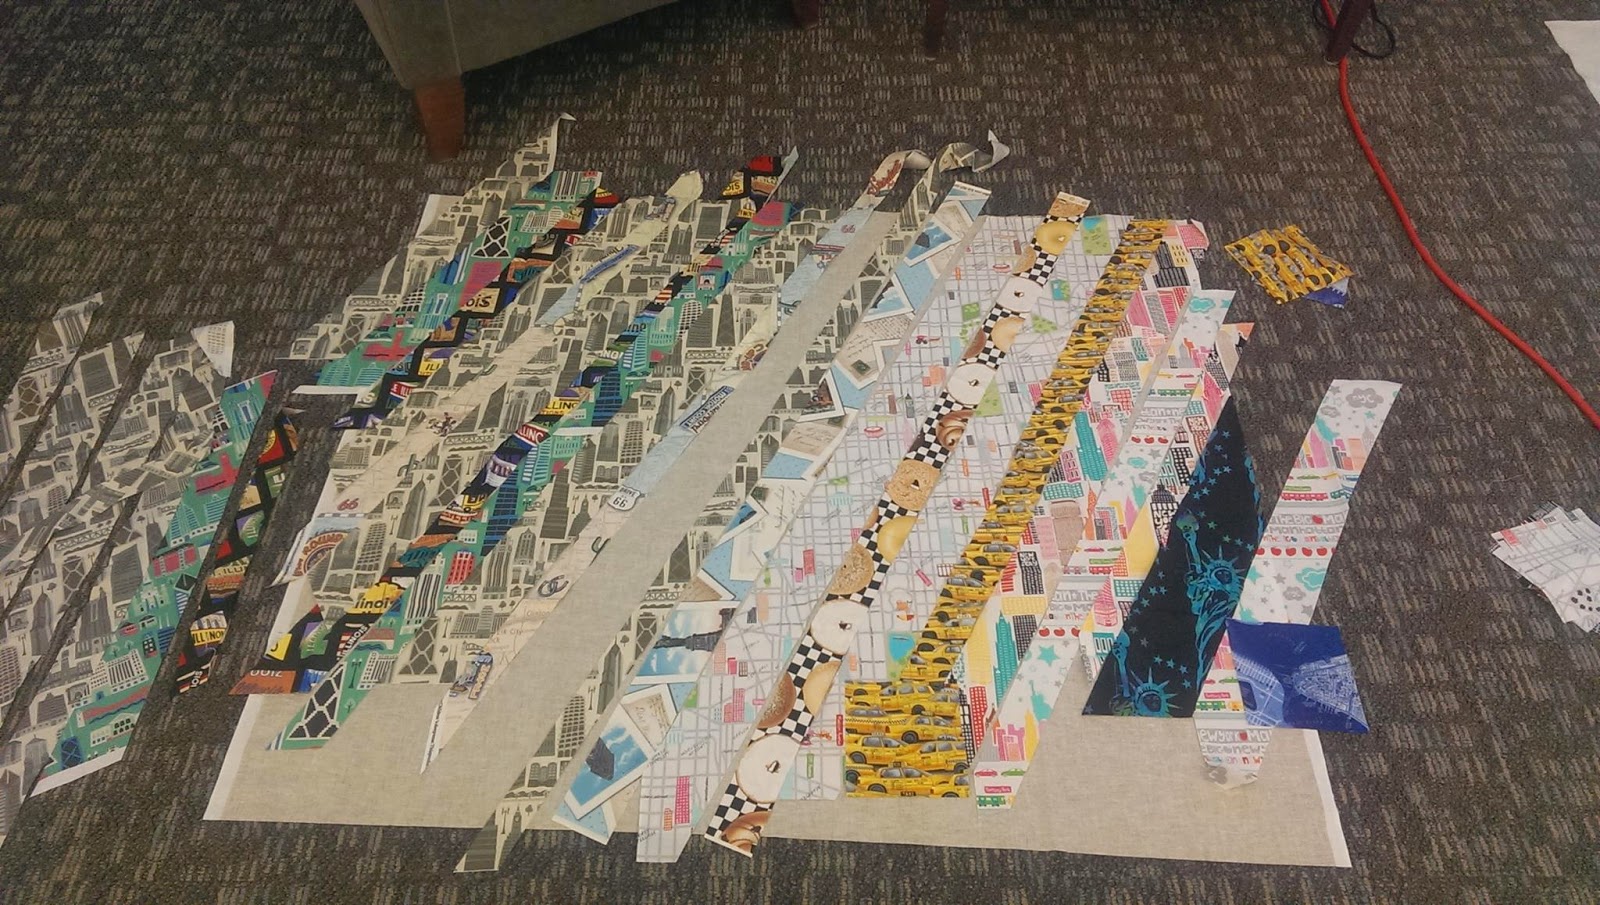
But my quilting community had my back. A quick post on one of my Facebook Groups, Chicago Stitch Bitch & Brew [because I'm classy like that] yielded excellent results! Which led to Modern Yardage....who had a fabric that was OK, but not quite perfect. So I asked if they could change it. And they did. Within about 1 week.
Once I had all my fabrics and supplies, I had to execute. As usual, I am Goddess of the Last Minute...I'd like to say that I purposely saved this project for my undivided attention at my quilt retreat. If you know me, you'd know that utter BS. What happened is I got busy and distracted with day-to-day management of my hectic life, and wound up with 48 hours left to get this baby DONE.
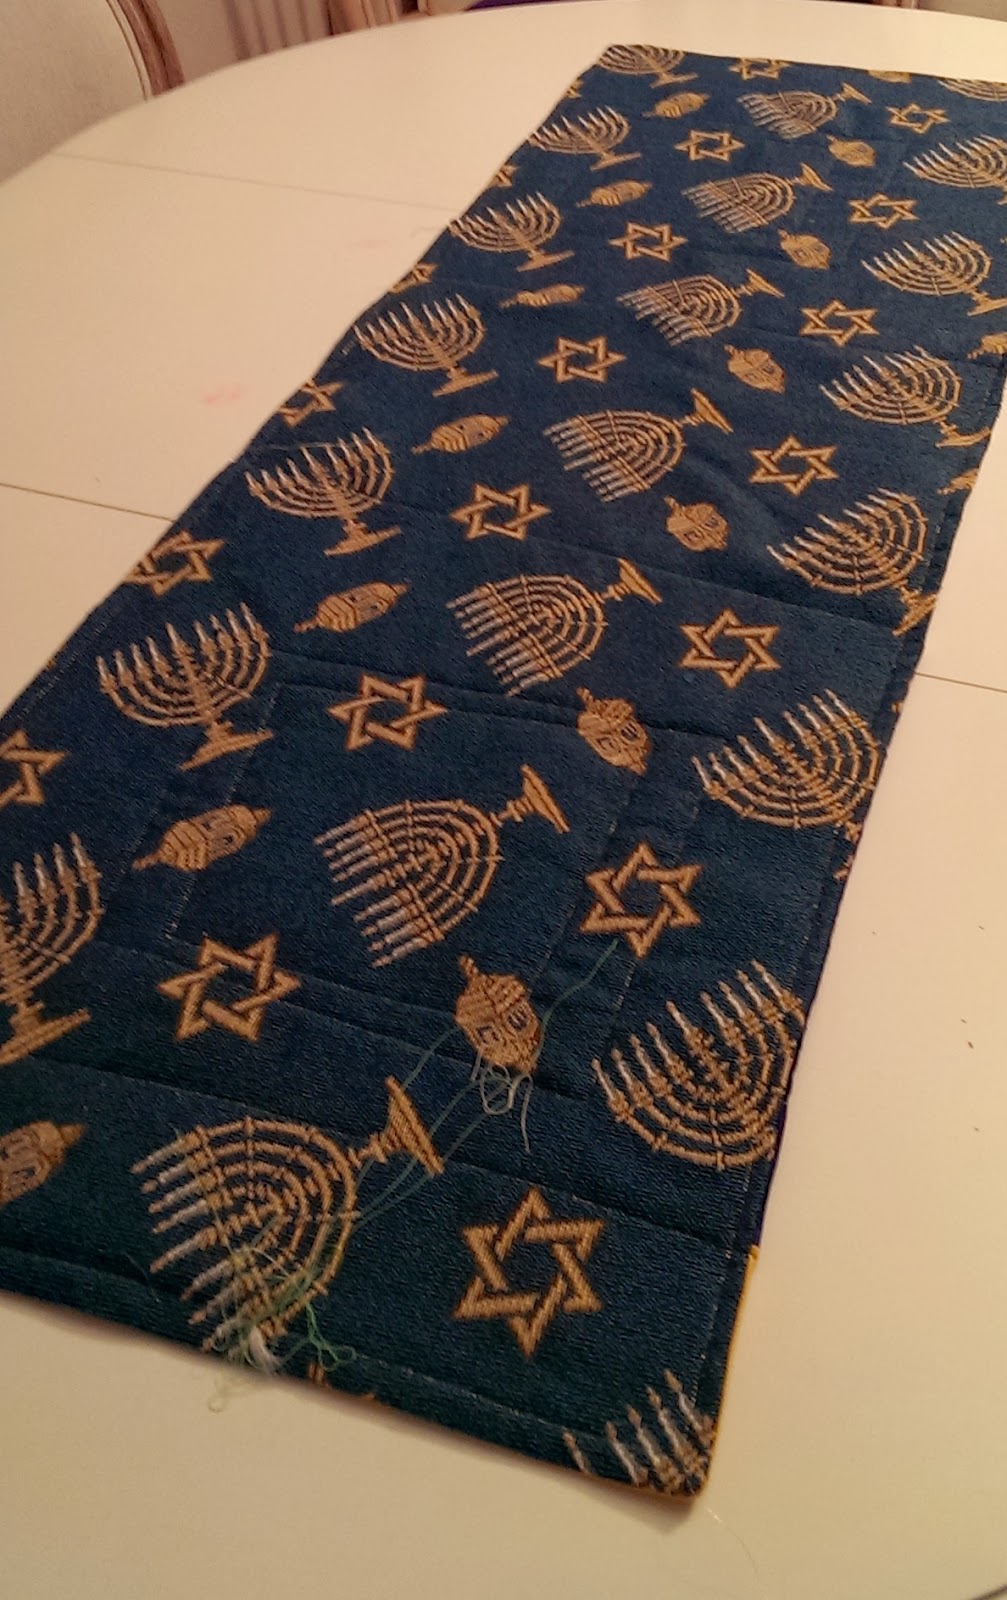
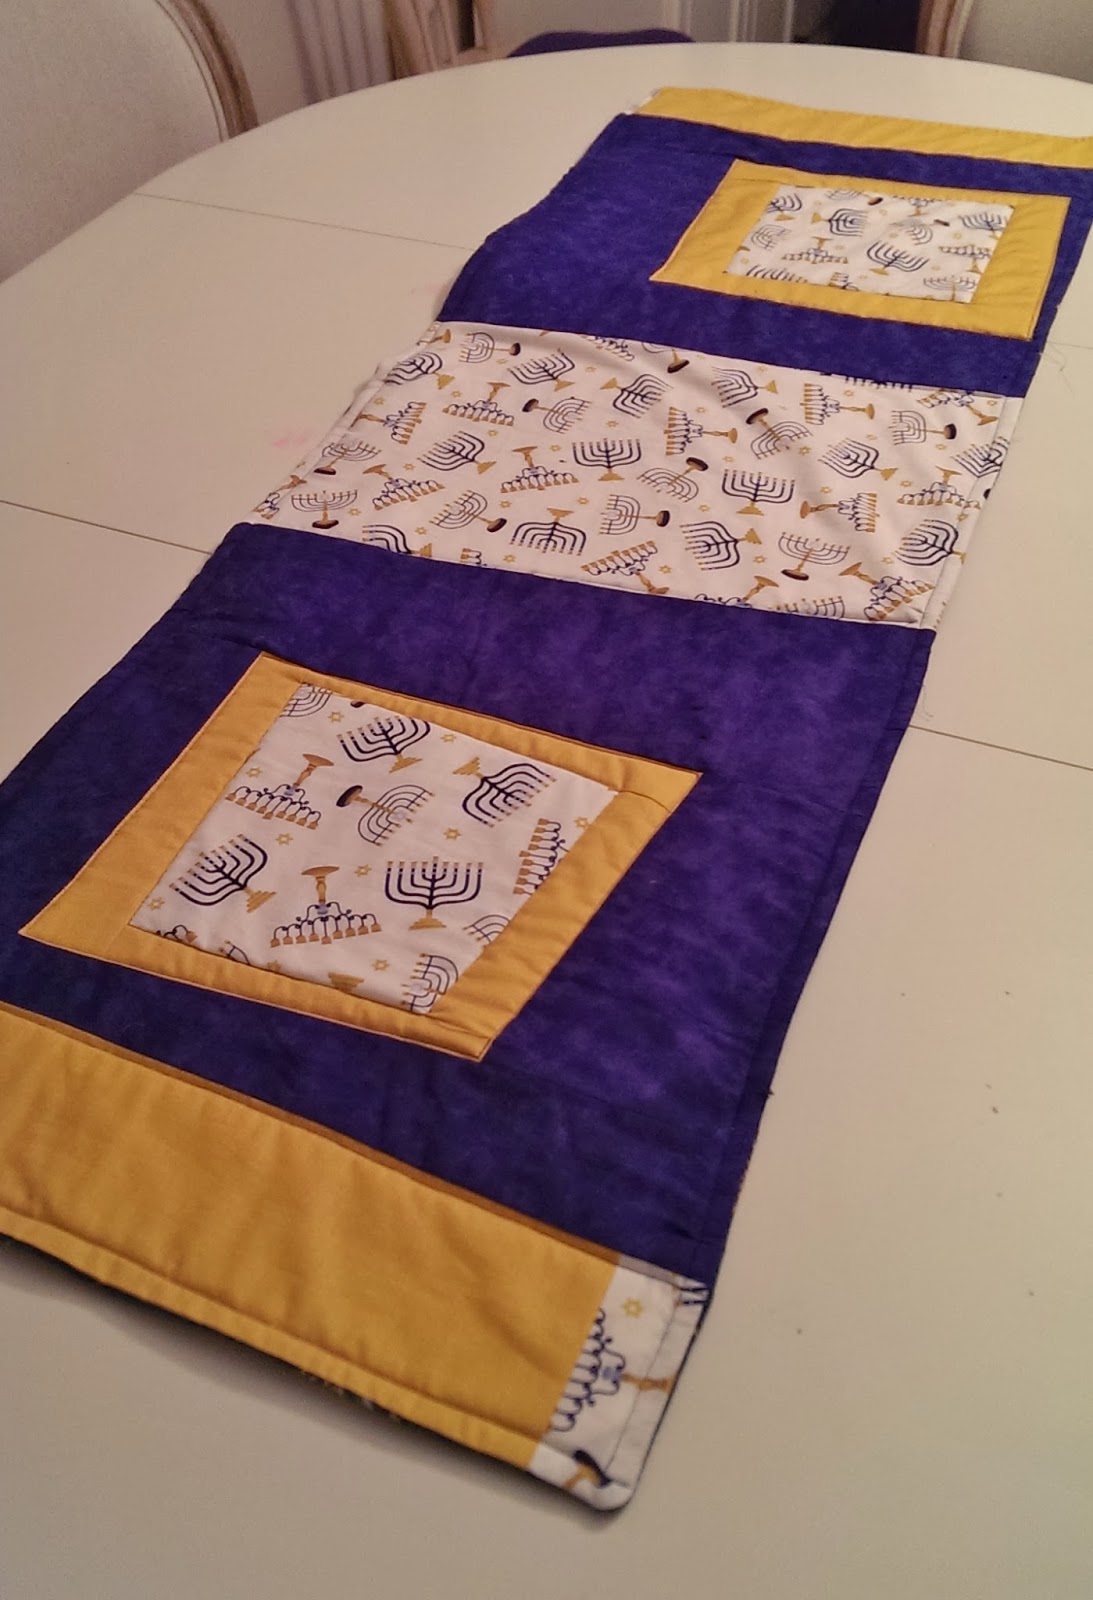
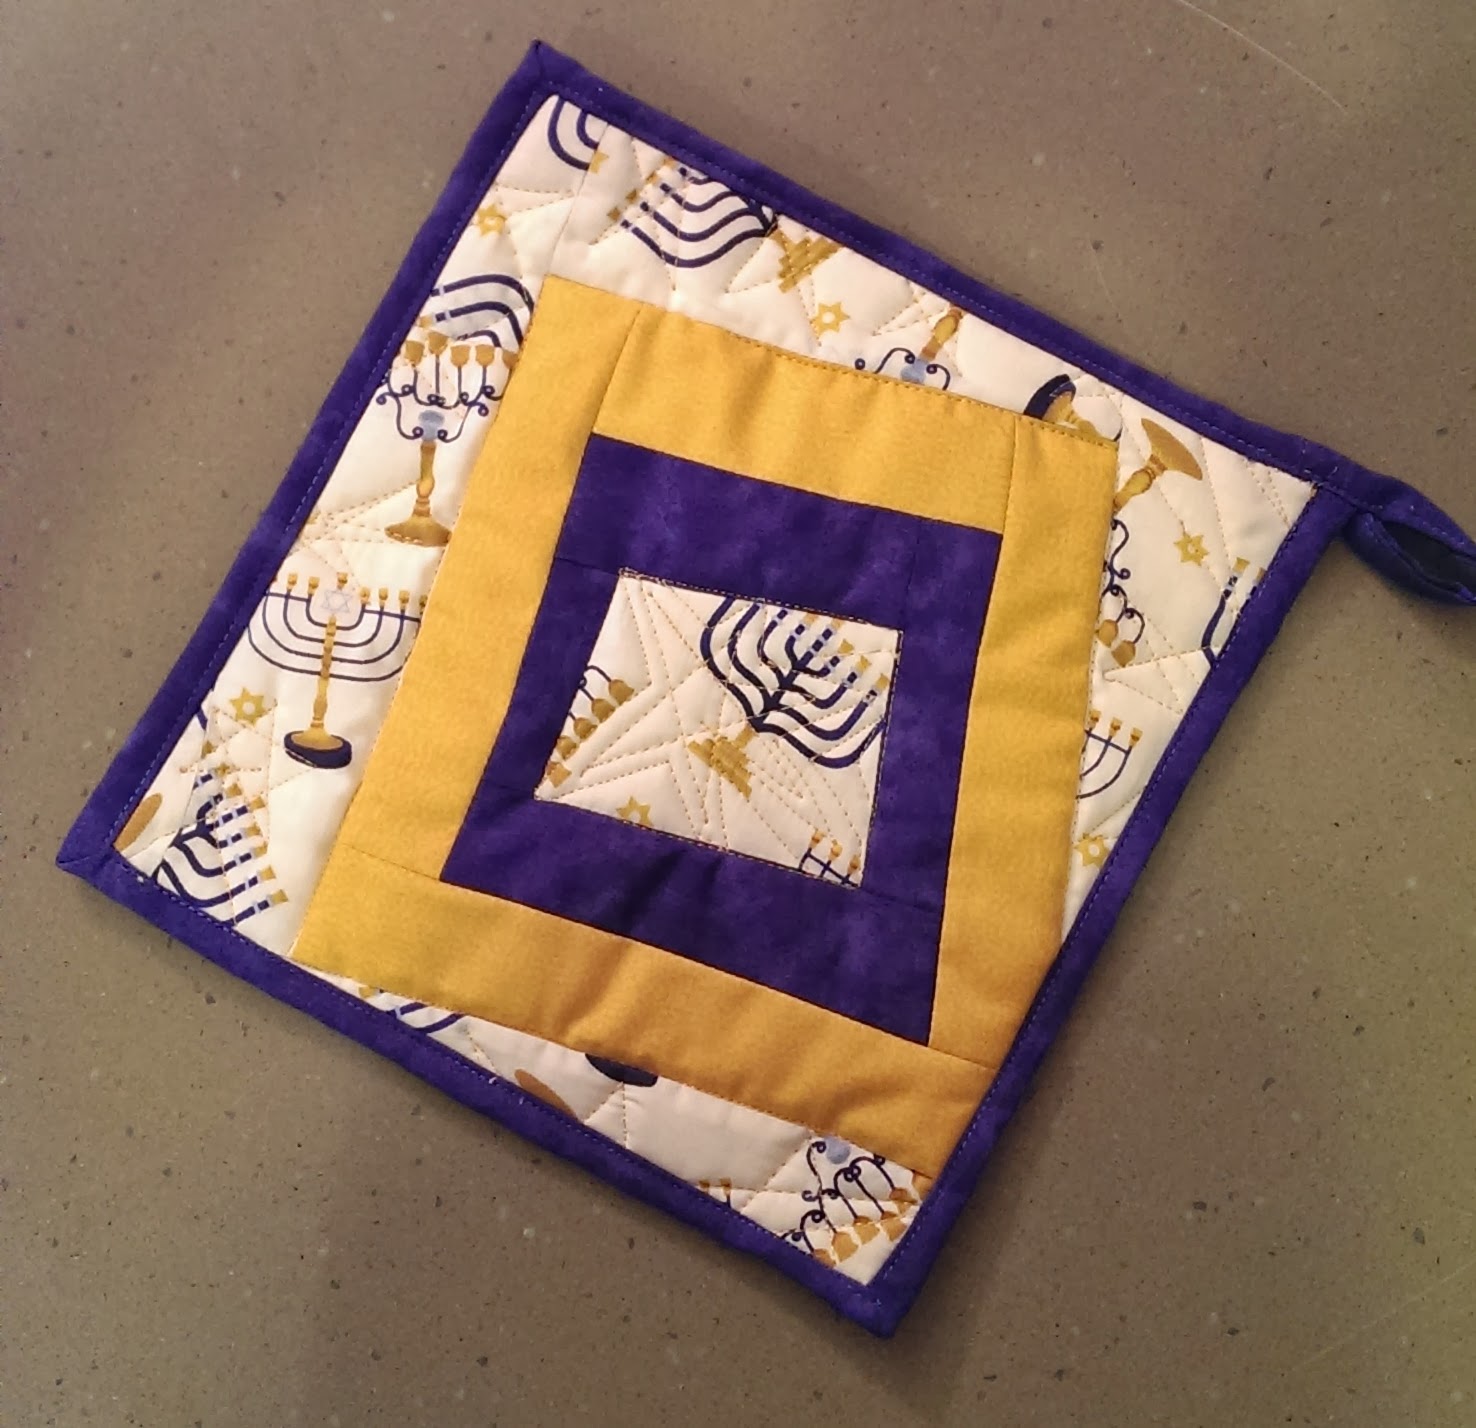
I began by selecting my fabrics and cutting strips. But no....I was unable to force myself to make strips on the grain. That would have made the patterns look sideways. So, I cut all dozen directional fabrics on.the.bias. If you aren't aware, bias cuts provide lots of stretch and flexibility. Useful for bindings, especially on curved edges. Painful if you are trying to create a flat, even, quilt top.
 So the quilt put up a fight from the very first cut. And it did not give up. But, neither would I. I located two perfect images online, and was able to recreate them as fusible applique pieces. The central icon would be out of organza because I wanted it to be translucent.
 Finally, all the elements of the project were complete. I put the quilt on the long arm! And by finally, I mean at about 9 pm the night before the deadline. My idea for the quilting didn't look at all how I had hoped - but with my time dwindling, I decided to adopt the "less-is-more" design aesthetic. It was time to join all the parts! And, they came together exactly on plan.
At that point, I felt the quilt would look best with no border at all. So I figured it wan't too late to learn the new technique of quilt facing. Except for the fact that when I measured the quilt, it was exactly 36". Lesson learned - make sure your project exceeds required measurements before the last step!
With just a few hours left, I wasn't about to let a silly binding keep me from my goal. I pushed through, and added a coordinating binding. Just enough time for pictures! And so, I give you:
Two Cities, One Heart

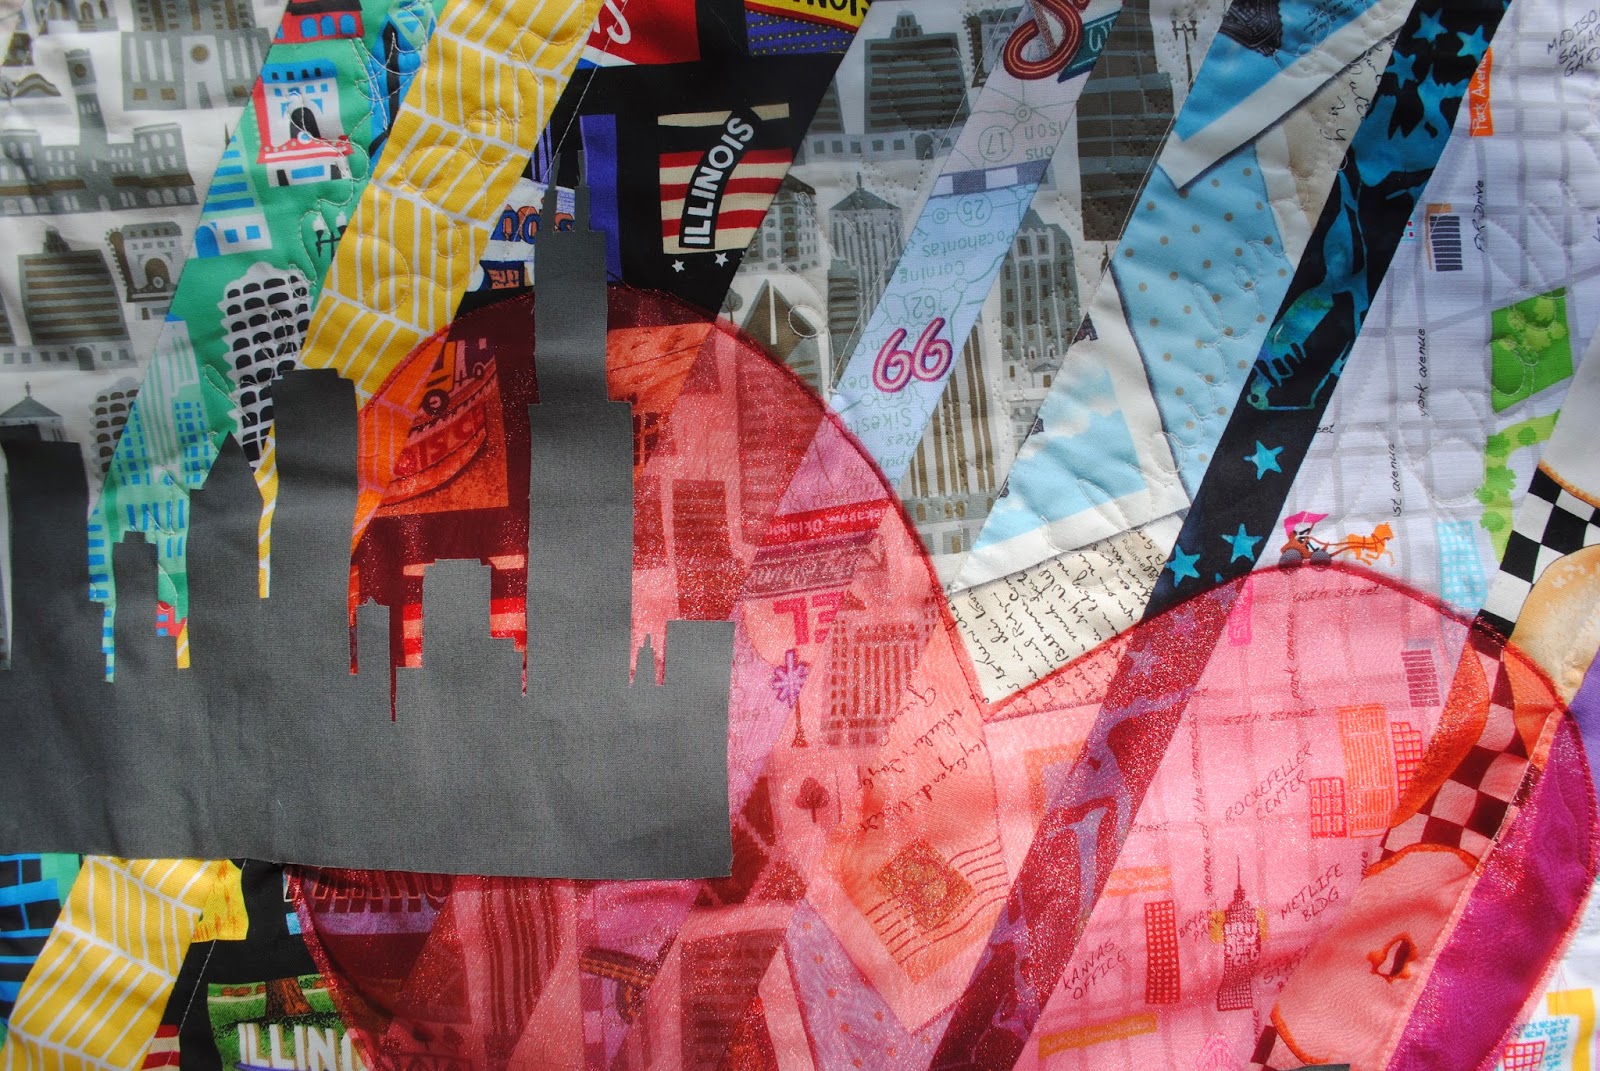 |
| detail view, Chicago side |
Wow.
Goal: Surpassed.
For a closer look at some of the NYC fabrics, and to order, visit City Quilter.
Also see this post about some of the fabrics.
For a closer look at some of the NYC fabrics, and to order, visit City Quilter.
Also see this post about some of the fabrics.